

Copying an opportunity is a highly valuable tool found in an opportunity's toolbar. When you copy an opportunity, it creates an identical duplicate of the existing opportunity, complete with a new opportunity reference and a new name, following the format "Opportunity Name (Copy)."
BENIFITS OF COPYING AN OPPORTUNITY
There are several compelling reasons to use this feature:
- Efficiency: Copying an opportunity saves a significant amount of time. If you're planning to create a similar opportunity to an existing one, this feature automatically populates details, descriptions, and participant information.
- Accuracy: By copying an opportunity, you avoid errors when entering details. This is especially helpful for items like job descriptions and salaries.
- Multiple Opportunities: If you're creating multiple opportunities in different regions, copying an opportunity and then adjusting the location can save you a substantial amount of time.
STEPS TO COPY AN OPPORTUNITY
- Navigate to the opportunity you wish to duplicate:
- If you know the opportunity's name or ID you can use the search box at the top of the left-hand menu.
- Alternatively, go to 'Opportunities' > 'Search' in the left-hand menu.
- If you are looking for an old opportunity, you may need to switch your account to show archived data.
- Click the 'Copy' button:
- The button can be found in the opportunity's toolbar, located in the top-right of the page.
- In the box that pops up, click 'Confirm'.
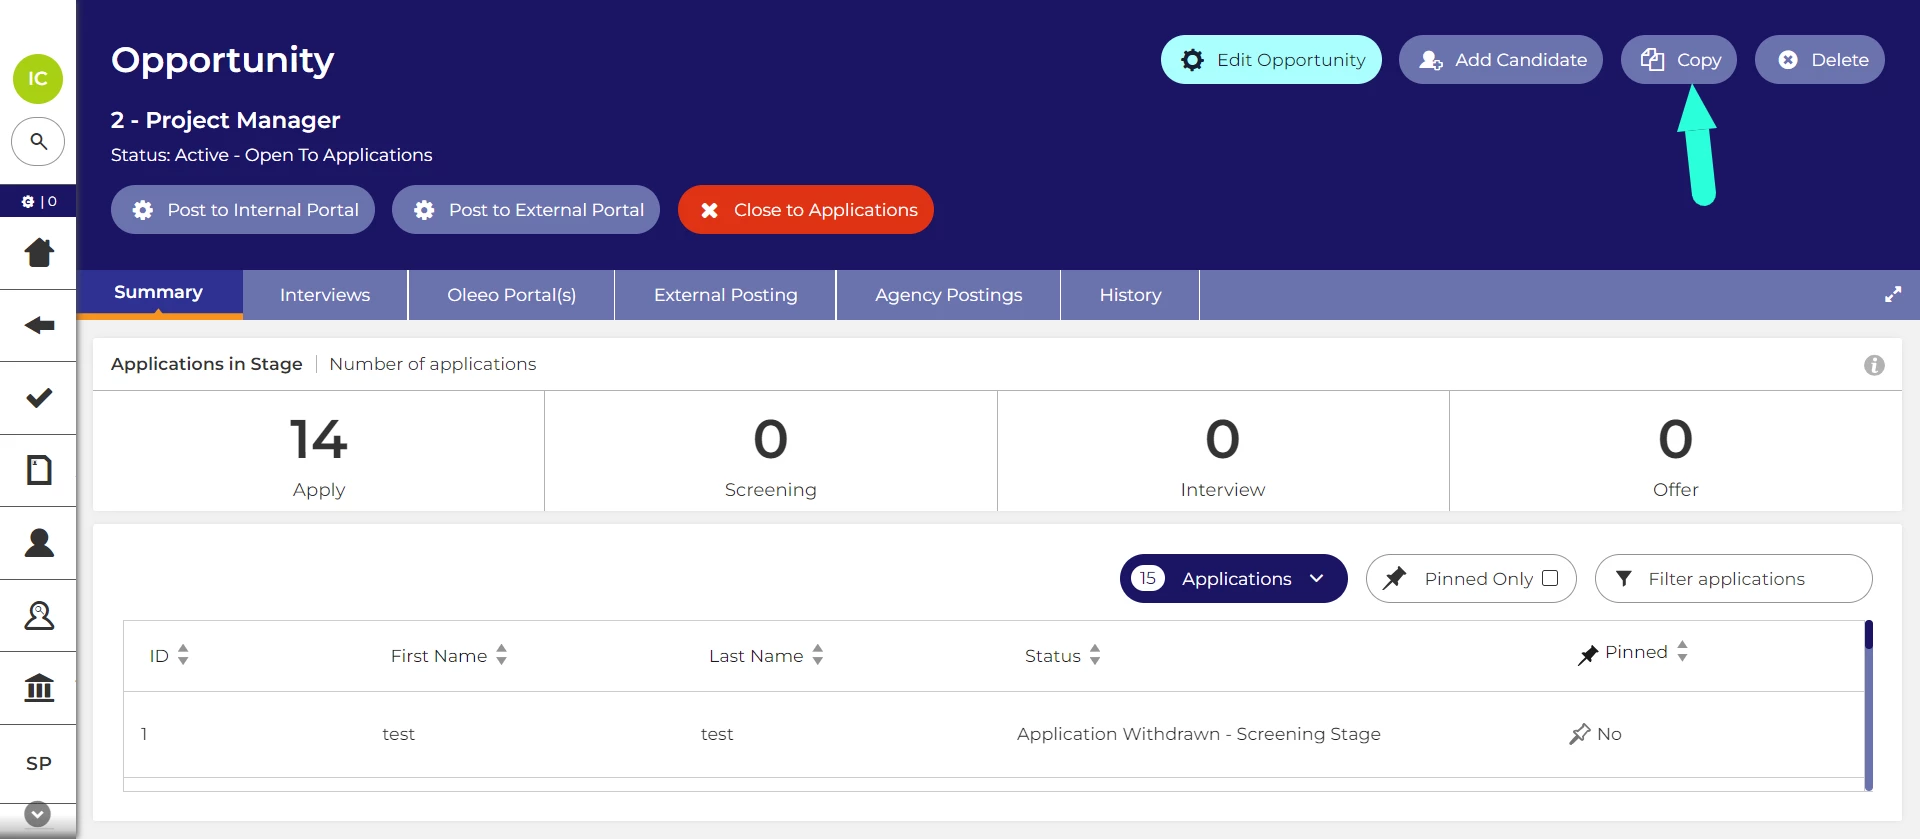
Copy button in the new vacancy management interface.
- New opportunity created:
- A new opportunity will be created, and you'll be redirected to the list of opportunities.
- The new opportunity will have the same name as the original opportunity with "(copy)" added to the end of the name.
- It will be moved back to the initial status (e.g. "Draft").
- It will be set as inactive.
- Update the new opportunity:
- In the Details tab (labelled Settings on the new vacancy management interface), pay special attention to the 'Title,' 'Live Date,' 'Closing Date,' and 'Anonymization' / 'Deletion' dates.
- In the Description tab, make any changes specific to the new opportunity.
- In the Participants tab, verify that the correct users have access and remove any users who should not have access.
- Approve, activate and post the new opportunity:
- Once you've made the required adjustments, you can send it for approval and activation as you would with an opportunity created from scratch.
Changes on the new vacancy management interface:
- The Details tab has been renamed to Settings.
- The Settings, Description and Participants tabs are hidden by default and can be accessed by clicking the Edit button.
- Please see our guide: Accessing additional vacancy tabs
