

You can create events in Oleeo for a range of purposes, such as collecting candidate details at recruitment fairs, enabling candidate pre-registration, screening registrations before sending invitations, or offering time-slot booking.
This guide will walk you through how to create an event from scratch, regardless of which features you choose to use.
STEP 1: INITIATE THE PROCESS
- From the left-hand menu, select Events > Create.
- You will be taken to the event creation form.
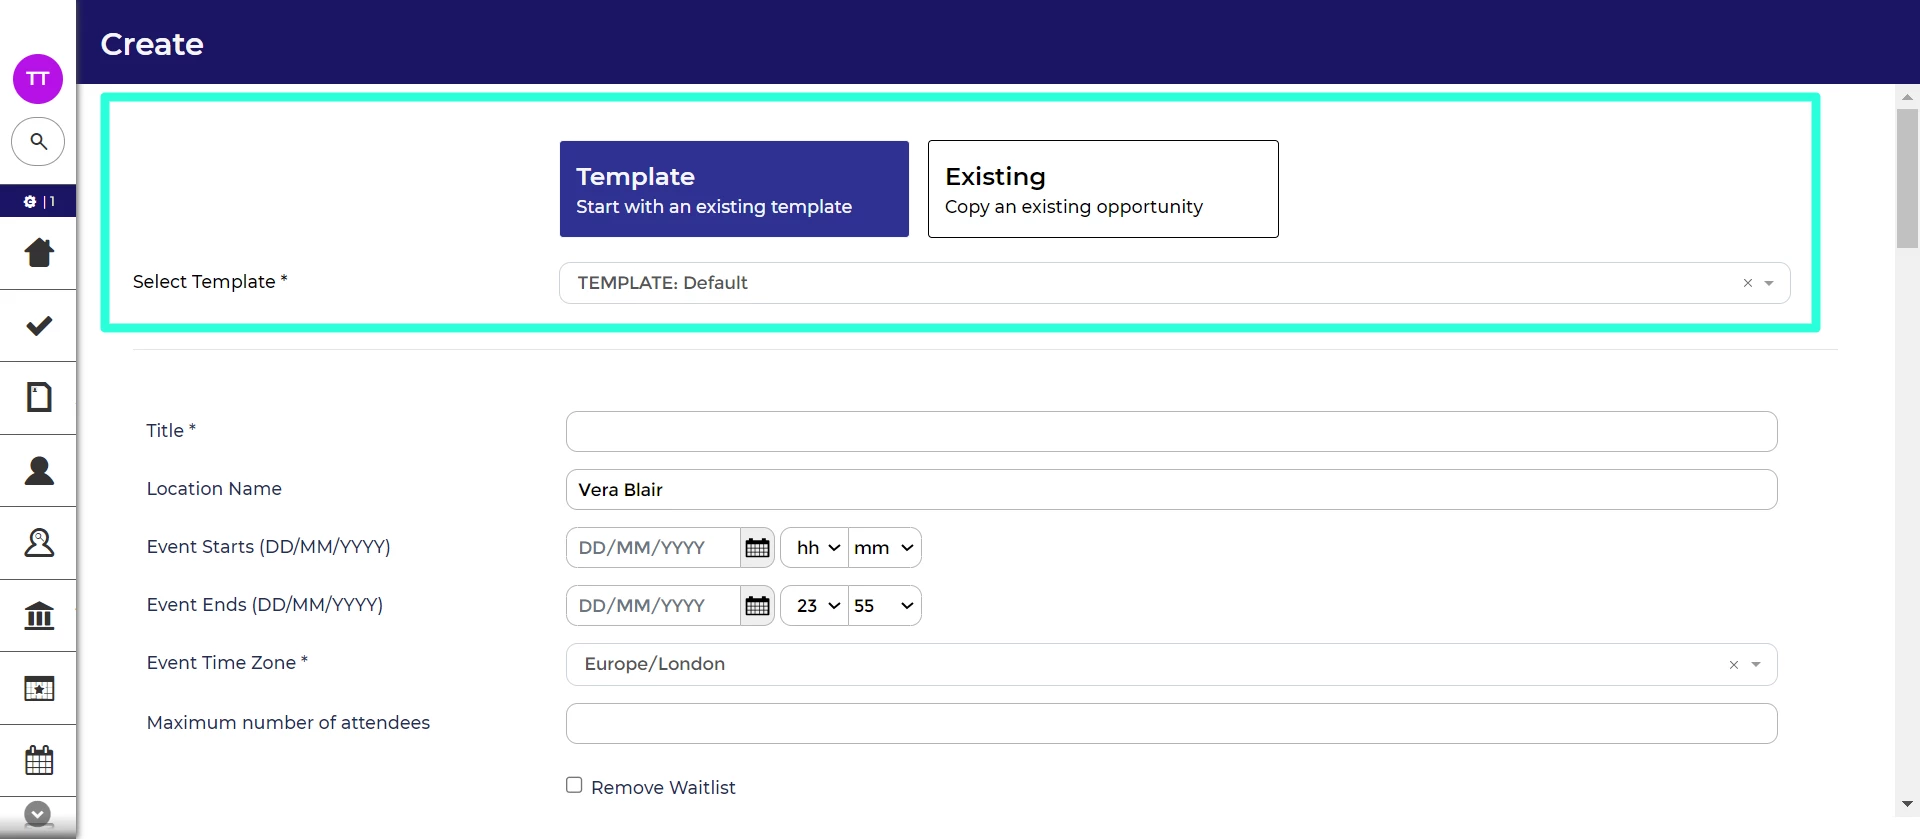
STEP 2: SELECT A TEMPLATE (IF AVAILABLE)
If your system uses templates, you'll be prompted to select one. Templates save time by pre-filling form fields.
Creating event templates:
The process for creating event templates is the similar to creating opportunity templates.
To start, navigate to Events > Templates in the left-hand menu. Make sure to select the event process flow for the Event Workflow and Application Workflow, the event form for the Internal Form, and the event advert for the External Form.
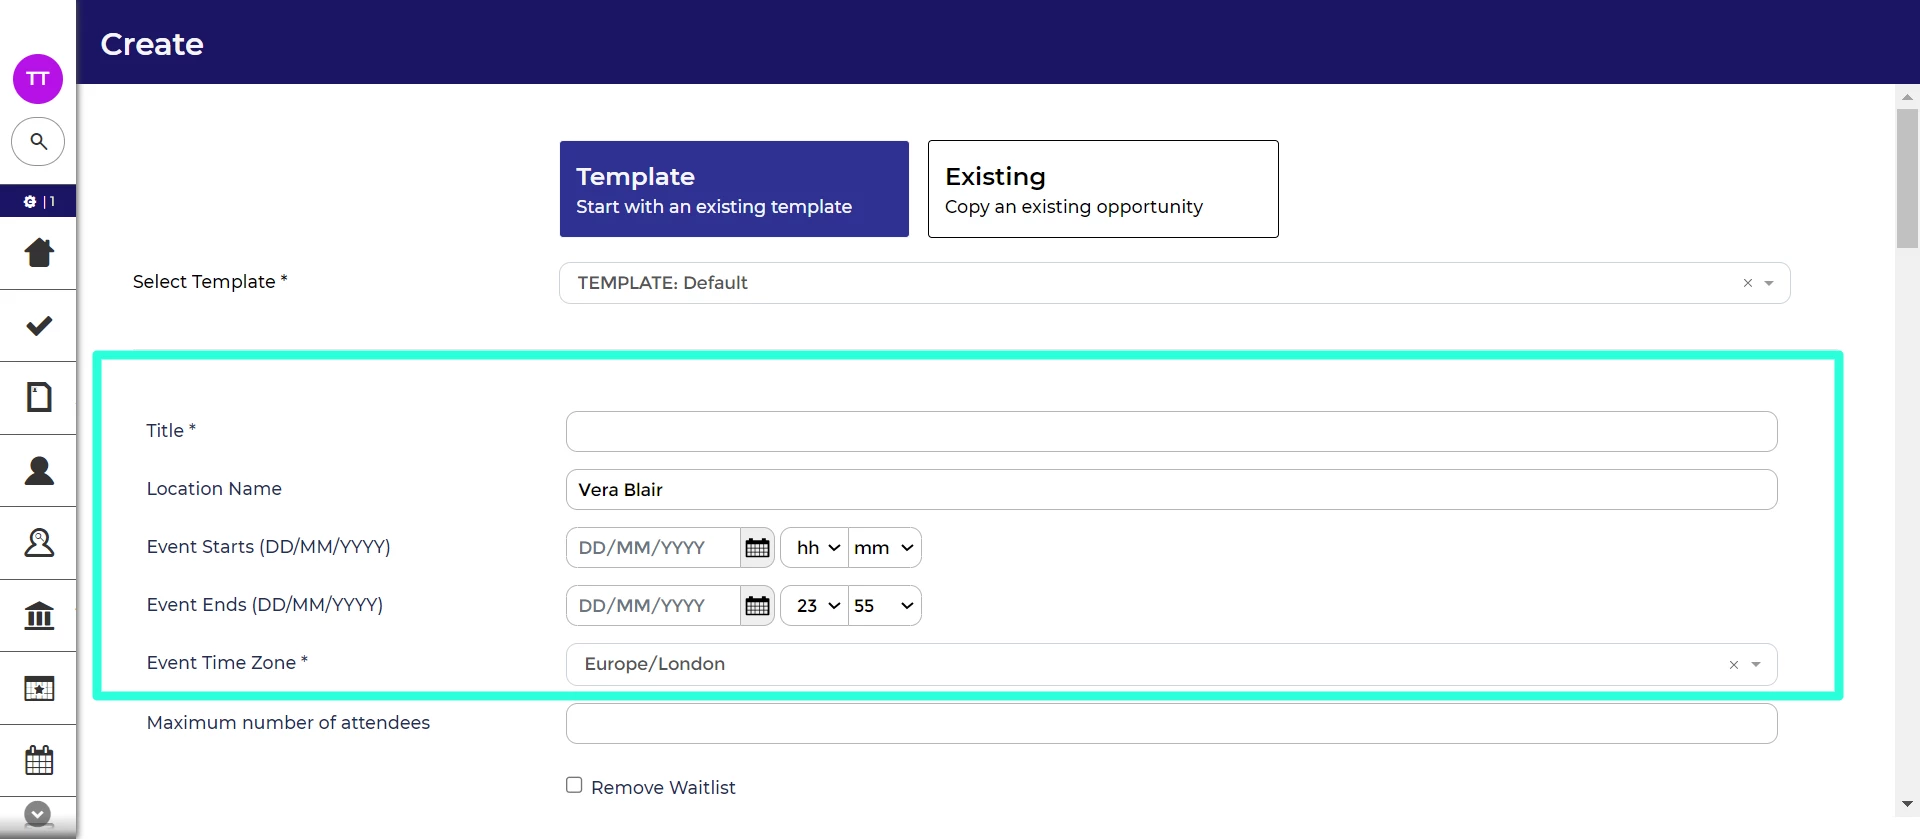
STEP 3: ENTER THE TITLE, LOCATION AND EVENT DATES
These fields will appear at the top of the form:
- Title (mandatory):
- The title you enter will be visible to candidates on your event job boards.
- Location Name (optional):
- This is for your internal records and will not be displayed to candidates. You will get the opportunity to enter a full event address later in the form.
- Event Starts & Event Ends (optional):
- Select the dates and times when the event takes place.
- These dates and time are typically displayed on the event advert and included in the confirmation email.
- Event Time Zone (mandatory):
- Select the time zone where the event is taking place.
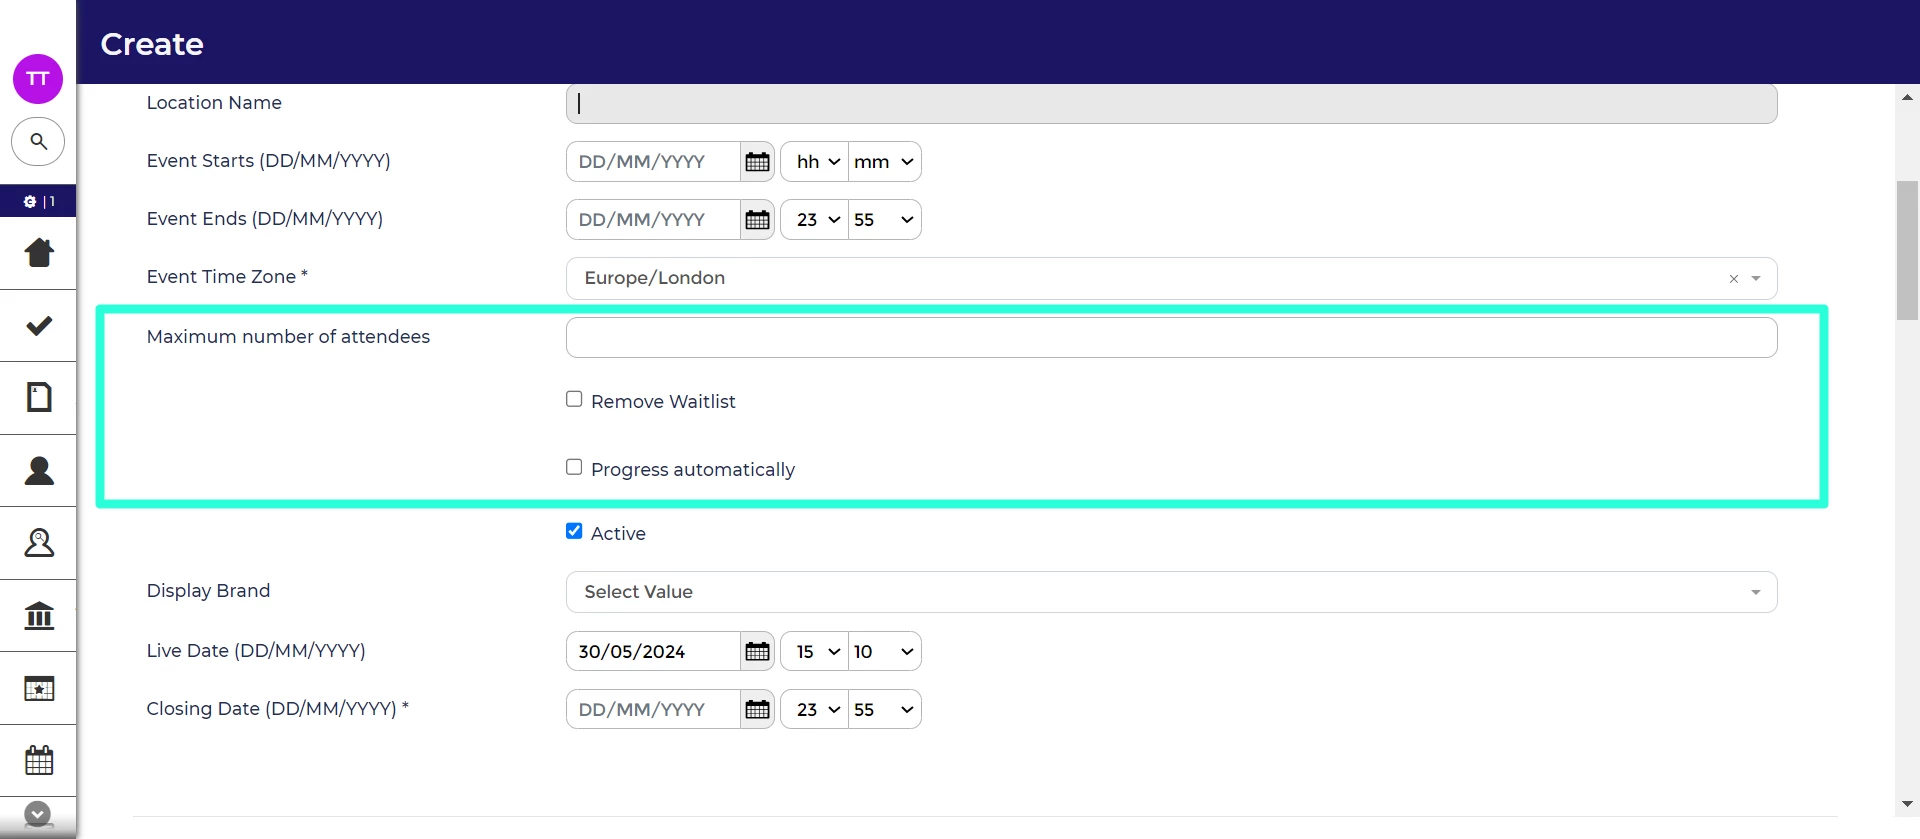
STEP 4: LIMIT THE NUMBER OF ATTENDEES (OPTIONAL)
You can set a limit on how many candidates can attend your event, allow surplus candidates to join a waitlist, and automatically progress candidates from the waitlist if a spot opens up.
- Maximum number of attendees (optional):
- Setting a Limit: If your event has a maximum number of attendees, enter the number here. The system will automatically manage registrations, placing any additional registrants on a waitlist once the limit is reached. They will receive a notification explaining this.
- No Limit: Leave this field blank if there is no attendee limit. This is usually left blank if you plan to screen registrations or you are using this event to collect candidate details at a recruitment fair.
- Remove Waitlist (optional):
- If you include a waitlist (recommended), candidates can still register when the event is full. Once they submit their details, they will receive a message informing them that the event is full and that they have been placed on a waitlist.
- If you choose to tick this checkbox, candidates will be blocked from completing the registration form once the maximum number of attendees is reached and will receive an on-screen message saying the event is full.
-
Progress automatically (optional):
- Candidates can withdraw their registration from the application centre. If you choose to tick this checkbox, candidates will automatically progress from the waitlist if a spot opens up.
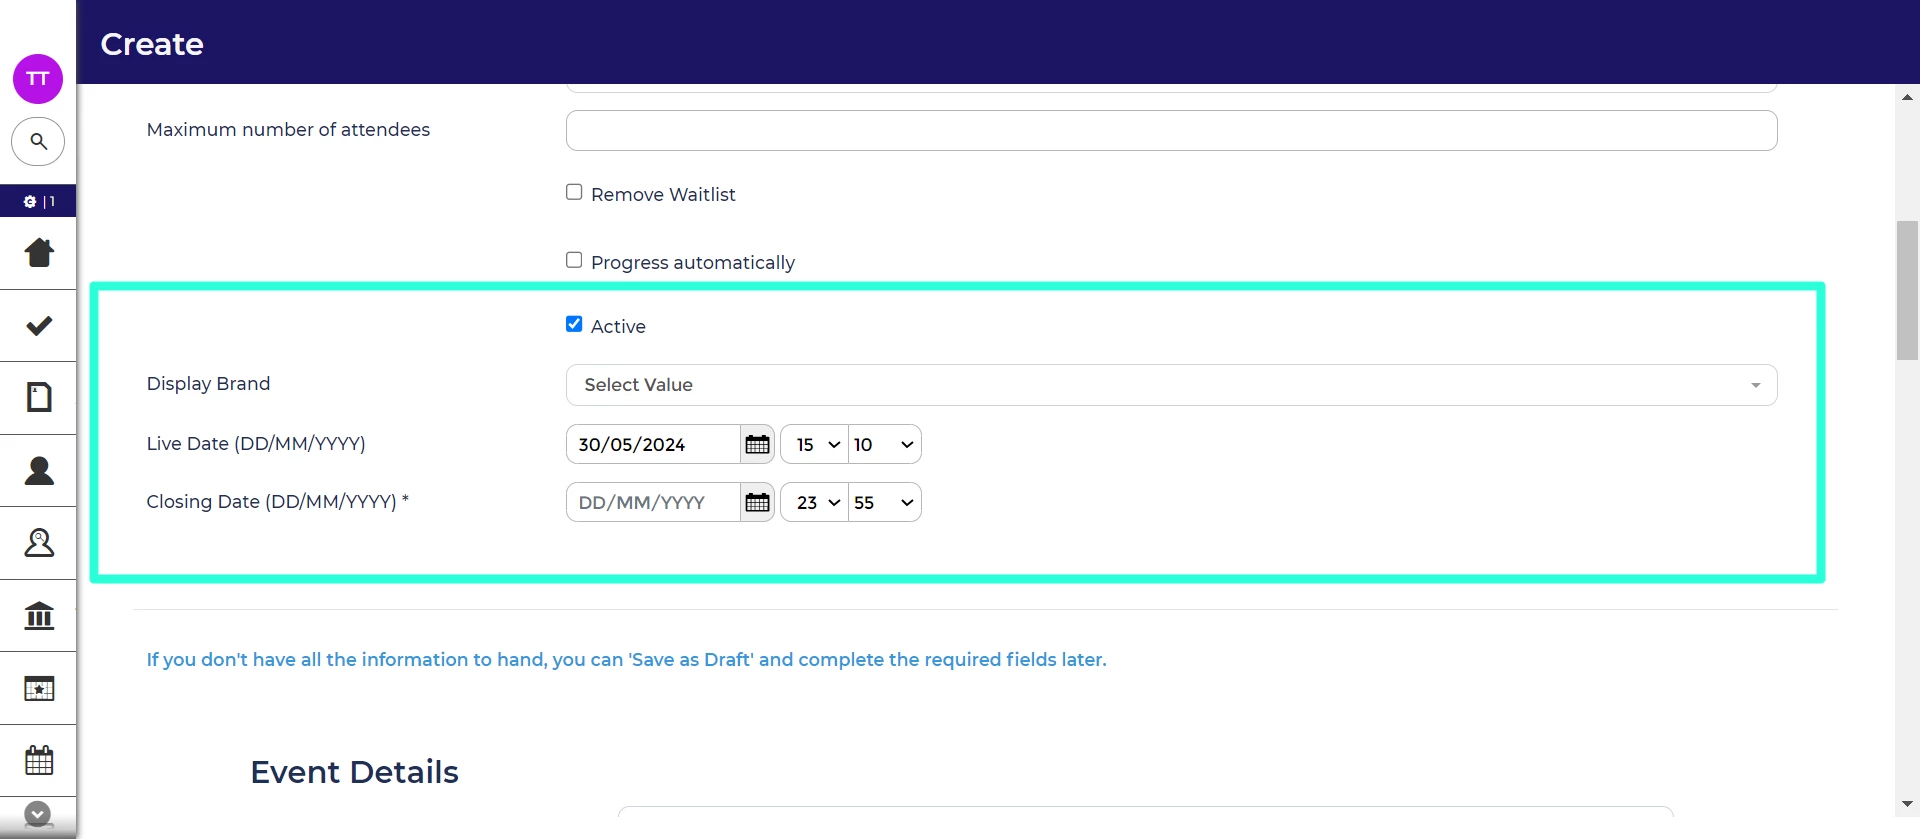
STEP 5: ENTER THE LIVE AND CLOSING DATES FOR REGISTRATIONS
-
Active (optional):
-
Candidates can only register for active events. You can check this box now or later once the event has been saved and is ready to go.
-
-
Display Brand (optional):
-
If you want to advertise the event but do not want candidates to pre-register, select the 'No apply/register button' option. This removes the 'Register' button from the event's advert. Candidates can still register if you send them a direct link to the event, and you can still add candidates manually.
-
- Live Date (optional):
- This is the earliest date and time when your event can be advertised, and candidates can begin to apply.
- You can pick dates from a calendar or type them in manually.
- Closing Date (mandatory):
- This is the latest date and time when candidates can submit their applications.
- If you are collecting registrations at the event (e.g. a careers fair), select the event end date and time as the closing date.
- You can adjust this date later if needed.
STEP 6: COMPLETE THE OPPORTUNITY DETAILS
The rest of the form is tailored to your organisation’s unique needs and serves various functions:
- Internal reporting: Some fields are used for internal reporting purposes.
- Event advertisement: Some fields shape the event advertisement seen by candidates. In some systems, fields with bright blue text indicate they appear on the event advert.
- Registration form: Some fields influence the pages and questions in the registration form.
- Post-submission actions: Other fields guide what happens to the registration after it is submitted.
Select if applications will be screened
You can choose whether to screen applications before confirming invitations. In most systems, there will be a field for this purpose.
In our best practice system, this field is labelled as ‘Open or Invite?’.
If you select 'Invite', registrations are moved to the 'Event - awaiting screen' status upon submission.
Automatically invite candidates to select time slots
You can add time slots to your event and enable candidates to choose from the available options.
In our best practice system, this field is labelled as ‘Automatic Interview Invite?’.
If you choose to auto-invite, make sure to create slot itineraries on the 'Interviews' tab before publishing the event.
STEP 7: SAVE YOUR EVENT
After filling out all mandatory fields, click the Create Event button located at the bottom of the form to save your event.
If you've left any mandatory fields blank:
- The event will not be saved.
- You'll be redirected to the top of the form where a list of incomplete mandatory fields will be displayed.
- Click on a field to navigate directly to that part of the form.
- Incomplete fields are highlighted in red.
Complete the necessary fields and click 'Create Opportunity' when you're ready.
Save as Draft (optional extra):
On some systems, there's an option to 'Save as Draft.' If available, you can save the event after completing the mandatory standard fields (those fields at the top of the form not specific to your organisation). This allows you to partially complete the form, return to it at a later time and finish filling out the remaining details.
Adding applications to events using the Mobile App:
The Mobile App has a feature call Kiosk mode with allows candidates to register their details at an event.
You do not need to post your event to use this feature. Self registration will remain accessible even if the event's closing date has passed, the event is inactive, or the maximum number of attendees has been exceeded.
