

You can see a summary of the registrations, and load the registrations, from the 'Registrations' tab found within your event.
The 'Registrations' tab is one of the tabs displayed underneath the event's ID, title and action buttons.
You can also view registrations when using the mobile app.
VIEW THE REGISTRATION STATUS SUMMARY
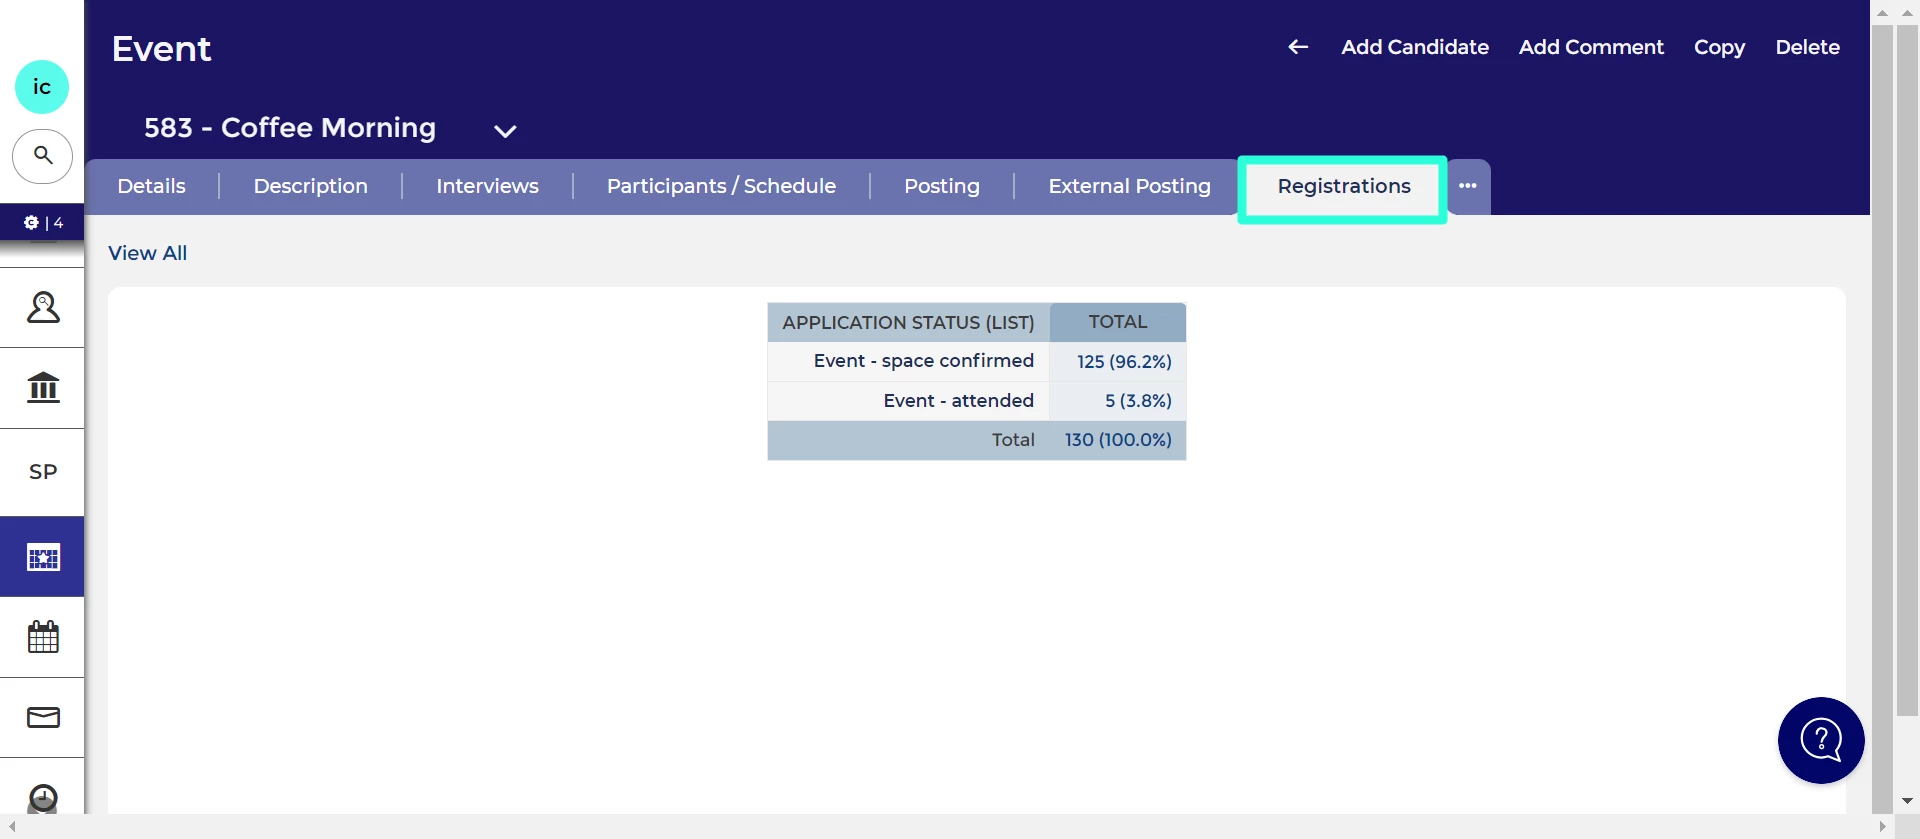
In the 'Registrations' tab you can see a summary of the status of registrations made to the event:
- When no candidates have submitted registrations, you'll see a message stating "No Applications..." in this tab.
- As candidates begin to submit registrations, this page transforms into a table offering a summary of registrations for the event.
- The table typically displays the number of registrations in each status.
- Note that the table will only display the statuses accessible based on your profile, and some profiles only show statuses after an registration has been submitted.
LOAD ALL REGISTRATIONS TO THE EVENT
From the 'Registrations' tab you can load all of the registrations to the event:
- By clicking on "View All," you'll access a list of all registrations for the event.
- Once the list has loaded, you can apply column filters and input a status in the filter column to focus on a specific registration status.
- Double-clicking a registration provides a detailed Application Summary.
- To return to the event, simply click on the event's name under the candidate's name.
LOAD THE REGISTRATIONS IN A SPECIFIC STATUS
- Alternatively, from the event's 'Registration' tab, you can swiftly navigate to a particular status by clicking on the corresponding number in the totals column.
- When viewing the list, you can efficiently switch to another status by clicking 'Edit Search' at the top-left of the list.
- In the pop-up box, select the statuses you wish to view.
EXPLANATION OF STATUSES
The events process flow can be configured to your requirements. Here is an explanation of the statuses on Oleeo’s best practice system:
- Event - registration form questions: Registrations in this status have been started but not submitted.
- Event - waitlist: Registrations go to this status when the maximum number of places has been reached. You can turn off the waitlist.
- Event - withdrawn: Registrations go to this status when they withdraw from an event. You can set your event up so that applications are automatically progressed from the waitlist when a candidate withdraws.
- Event - awaiting screen: Registrations will go to this status if you select that it is an ‘invite only’ event in the description form.
- Event - not invited to attend: Registrations can be manually moved to this status from the ‘Event - awaiting screen’ and ‘Event - waitlist’ statuses. They will receive an automatic confirmation email.
- Event - space confirmed: Registrations are moved to this status if they register for an open event with free spaces or if they pass screening. They will receive an automatic confirmation email.
- Event - interview invited: Registrants are moved to this status if the field ‘Automatically invite pre-registered candidates to schedule a time slot?’ has been set to ‘Yes’.
- Event - interview scheduled: Registrants move to this status once they have selected a slot.
- Event - attended: Registrations move to this status once they have checked in.
- Event - attended (survey invited): You can invite applicants to complete a post-event survey by moving them to this status.
- Event - attended (survey complete): Once they have submitted their feedback, they will move to this status.
- Post event - interview invited: You can invite attendees to schedule a post-event interview slot by moving them to this status.
- Post event - interview scheduled: Registrations will move to this status once they have selected a post-event interview slot.
