


WHAT IS THE TIP?
💡 Did you know that the Selections tool can be used to create lists (or buckets) of applications, opportunities or events of your choosing?
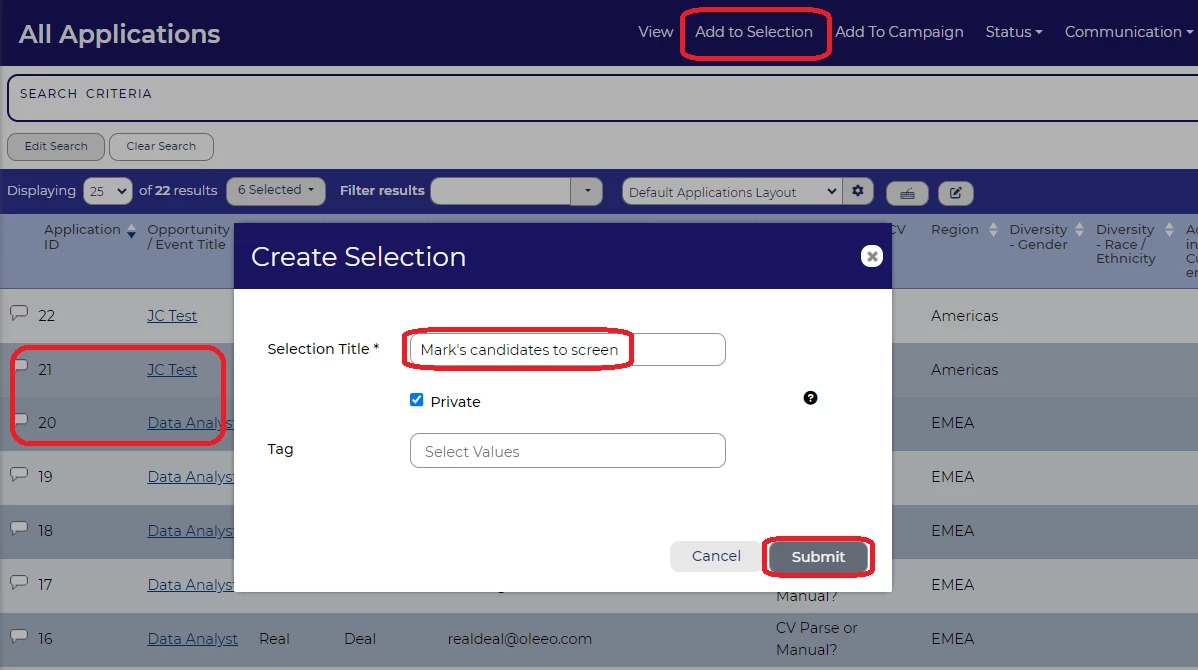
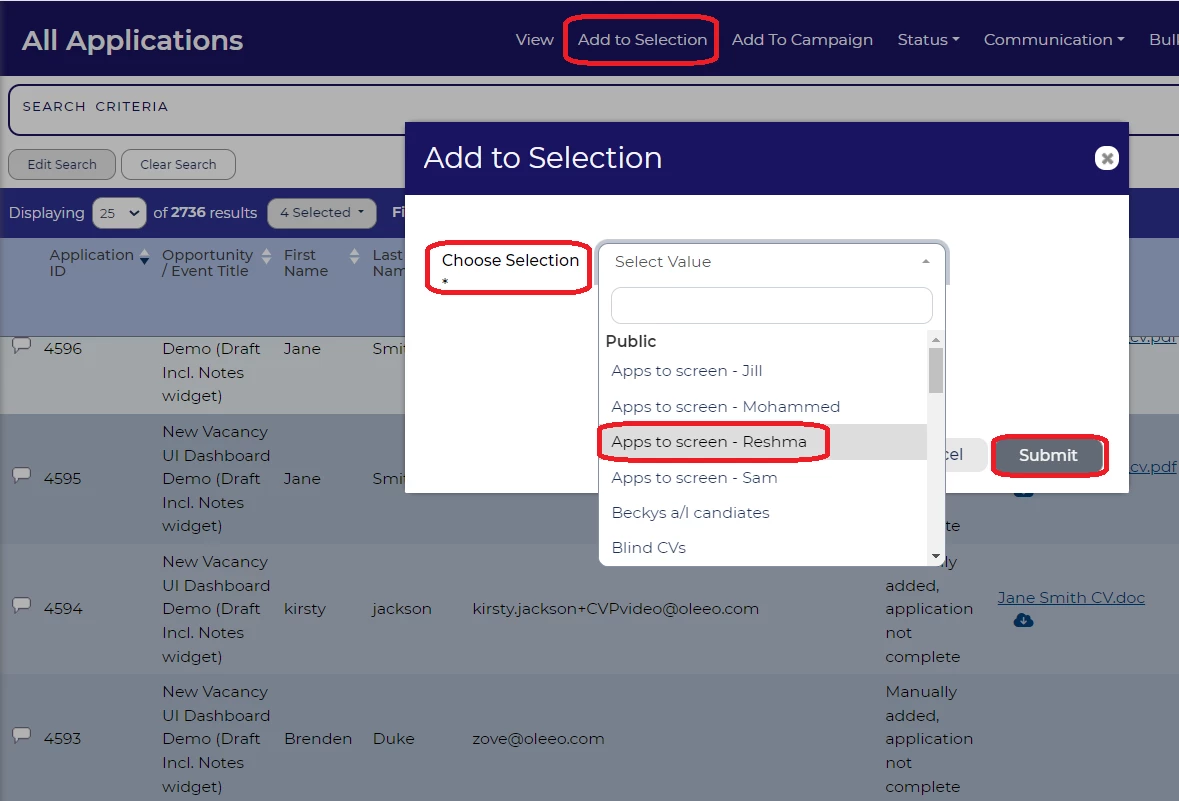
To do this you simply need to highlight the ones you want to add to a selection then go to Add to Selection and either add your highlighted applications, opportunities or events to an existing selection or create a new selection to add them to:
But why use Selections?
The main uses for selections are:
- To allocate applications to screen/process, to different users for a specific opportunity or event.
- To take ownership of opportunities or events to manage.
- To track high potential or diverse candidates through the process, that you would like to focus on, that you have met at events or have already screened.
- To track candidate referrals that you are personally responsible for tracking.
- To compile a list of candidates or opportunities that you want a colleague to look after when you are on your annual leave.
- If you haven’t managed to screen all your candidates by the end of the day, you can put your remaining candidates into a selection to pick up the next day.
Allocating applications to screen
If you have more than 1 person screening or interviewing candidates for a specific event you may want to create a selection for each person, name it after them, save it as a public search, then add the candidates they need to focus on to that selection. This way the users can quickly and easily access only the candidates they need to screen and there will be no confusion or delay to processing.
Taking ownership of opportunities and events to manage
You may want to add any opportunities or events that you have been selected to manage to a private selection, so that you can quickly and easily find just yours whenever you want. To do this select the opportunities or events that you want to add to the Selection, from a list, then create a new private selection, tick the private checkbox, if unticked will remain public. Only the user creating the private selection will see this in their list of selections, so no one can alter your list.

Tracking high potential or diverse candidates
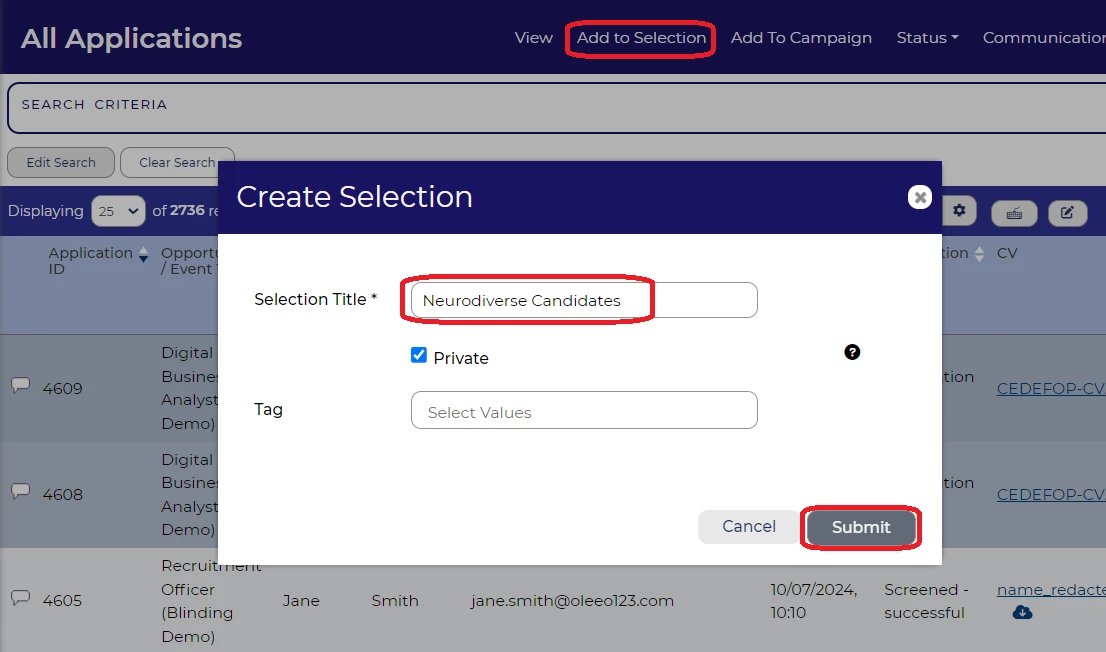
If you want to track a specific group of candidates through a process, then Selections are a great way to do this. Maybe you have met a few great candidates at an event, or there are some candidates that have special needs, or are in a diversity group that you are focusing on to improve the diversity at your organisation. Simply locate their applications, select them and add them to a public or private Selection as appropriate, to quickly and easily locate them wherever any of the applications are in the process, so you don’t lose sight of what is happening with these candidates at any one time.
Tracking my referrals
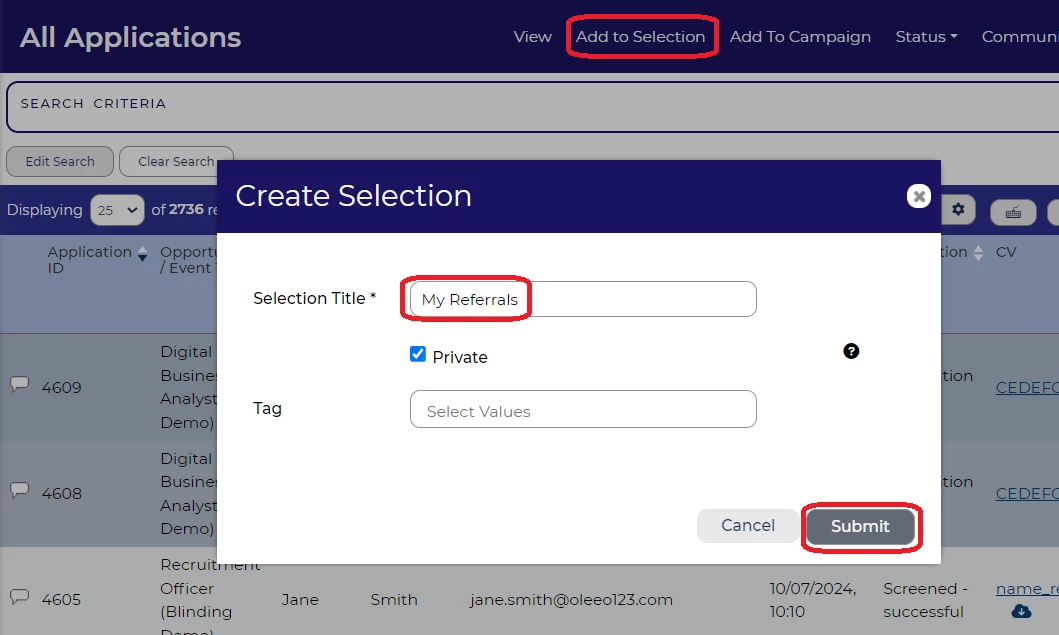
Similarly to the above, creating a private Selection can be a great way to save a lot of time locating referrals that you need to personally track in the system.
Compiling a list of applications or opportunities that a colleague will be managing in your absence.
If you are going on leave for an extended period of time and you want a colleague to manage your applications or opportunities, why not make it really easy for them to locate these by adding them to a public Selection, untick the private checkbox.

Managing your workload - adding applications you have not yet screened to a private Selection
One other great use for Selections is to help manage your workload. If you have a large number of applications to screen which you did not get through in your working day, it can be really useful to add the remaining applications to a new private selection. This means that when you come to continue your screening you know exactly which applications you still have to do and you will save time locating them and checking whether they have to be screened or not.
BENEFITS
Being able to quickly find content that you are responsible for, and track candidates wherever they are in the process can be a massive time saver and make you much more efficient!
CONSIDERATIONS
If you only need to track a specific Selection of content on the system, please ensure you save the Selection as a Private Selection as that will make the tool easier for everyone to use. It will be easier for everyone to find what they want if only those Selections that genuinely need to be Public are set as Public.
COSTS
This feature is part of the standard product offering.
NEXT STEPS
Speak to your Oleeo system admin, or ask them to raise a case to the Oleeo support team.
ADDITIONAL INFORMATION:
For the full user guide on Selections click here


