

The AI Assistant - Vacancy Create allows users to utilise the AI Assistant to create vacancies.
This is at an early stage of development but at the moment the tool can:
-
Interact with users to create a vacancy in the system, asking for clarification when required.
-
Create a Job Title for your vacancy.
-
Create a Job Description for your vacancy.
-
Create Skills and define the Skill Level required for each skill for your vacancy.
-
Create a Vacancy - Once you are satisfied with and have approved the information suggested for your vacancy, the tool will create a vacancy in the system with this information instantaneously.
LEVEL OF ACCESS REQUIRED
Access to Configuration Values is required for this configuration:
- Self-Configuration Level 4:
-
Activating a number of Configuration Keys.
-
Adding a new access control path.
-
- Self-Configuration Level 2:
- Updating User Access
- Self-configuration Level 1:
- Updating Forms
- Updating Form Items
USE CASES
-
As a system user I will be able to ask the AI Assistant to help me create vacancy content and also create the vacancy itself, so that I create better vacancies faster.
-
As a system user who does not have much experience of the system the AI Assistant will help me to create content, without necessarily having detailed training.
THINGS TO NOTE
-
The AI Assistant is a pre-requisite of this feature.
-
If the AI Assistant has not already been added to a system. You will need to check if the customer has signed the General AI Terms. Organisations will need to agree to our General AI Terms prior to any work commencing on configuring this feature. So please ensure that is in place before you make any changes.
ENABLING THE AI ASSISTANT (IF REQUIRED)
To enable the AI Assistant:
- As a prerequisite check config key feature.content_security_policy.recruiter.default_connect is set to (or includes) wss://bedrock-wss.api.eu-west-2.integration.oleeo.io/streaming if it does not please add it yourself (PLEASE NOTE: if there is already content there do not delete it simply add a comma after it then immediately paste the above).
- Also as a prerequisite check config key feature.content_security_policy.recruiter.default_img is set to (or includes) https://uploads-eu-west-1.insided.com/oleeo-en/ if it does not please add it yourself (PLEASE NOTE: if there is already content there do not delete it simply add a comma after it then immediately paste the above).
- Set config Key feature.ai_chat.enable to true.
- Set config key feature.enable.ai_guide to true.
- Add AI Base Group (1073) Activity Group to any user Activity Profiles that should be able to access the feature (you will likely need to add it to the system first via the Users > Actions Groups option). PLEASE NOTE - Activating the first 2 config keys will display the tool automatically for all users. So the suggestion here is that AI Base Group (1073) should be added to all active Activity Profiles on a system, unless the customer suggests otherwise (for access control purposes).
- Add AI Assistant Feedback (1081) Activity Group to any user Activity Profiles that should be able to access the feature (you will likely need to add it to the system first via the Users > Actions Groups option). While the feedback feature is not essential, I suggest everyone configures this in and only removes it if the customer makes that request as it’s a useful feature for ongoing improvement. PLEASE NOTE. The feedback feature will only work when you are logged in as a system user (not Channel), so please login as a user to test.
ENABLING AI ASSITANT - VACANCY CREATE
- Requires update of global keys due to internal restructuring of knowledge base (This is locked down by tech so please create a TRAC ticket to get this actioned for you):
- feature.ai_chat.bedrock_kb_bucket_client
- feature.ai_chat.managed_prompts
- Replace "oleeo_knowledgebase_id:oleeo_kb_s3" with "oleeo_knowledgebase_id:oleeo-kb-s3-v2" in all places (there is more than one)
- The next thing you need to do it to add the Short Codes into the relevant items into the internal vacancy template. These Short Codes currently available are:
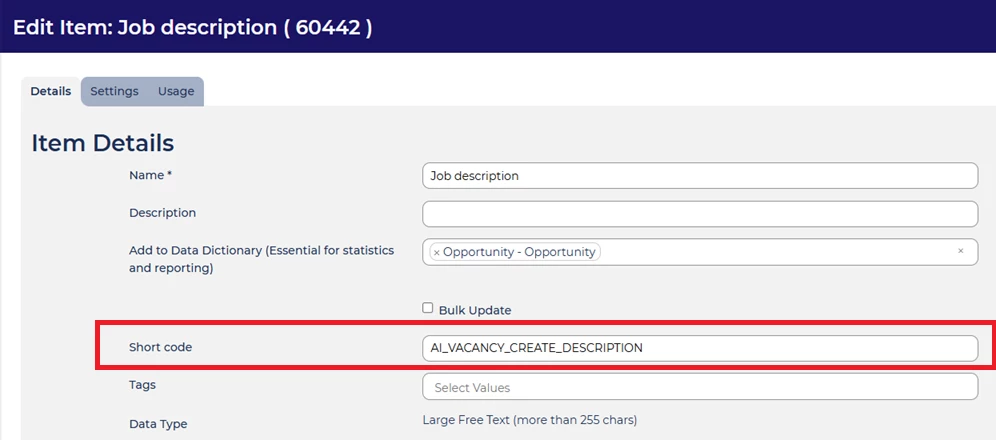
- AI_VACANCY_CREATE_DESCRIPTION for the vacancy's description
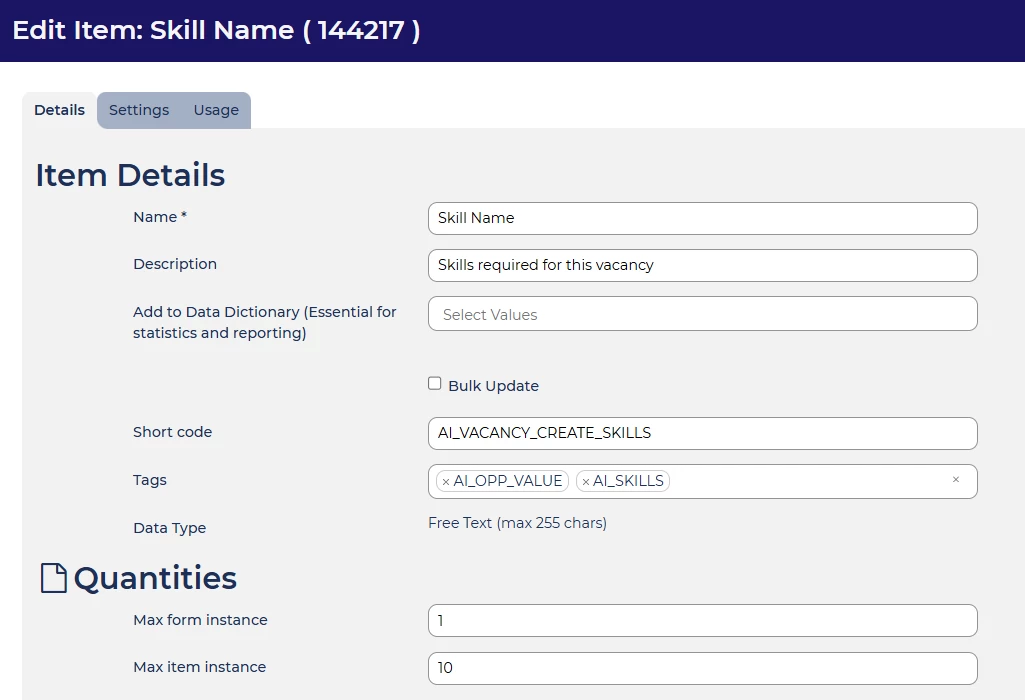
- AI_VACANCY_CREATE_SKILLS for the skill field
- AI_VACANCY_CREATE_SKILL_LEVELS for the skill level
- To do the above you will need to ensure the default internal vacancy template (Default Opportunity Edit Form) includes those 3 types of item. So first check which form is set to the default. To do this:
- Go to Configuration > Configuration Values
- The Config Key for this is recruiter.opportunity.edit_form_id so search for this and double click on the row.
- Make a note of the title of the form.
- Now go to Configuration > Forms > Form Editor locate the form and open it.
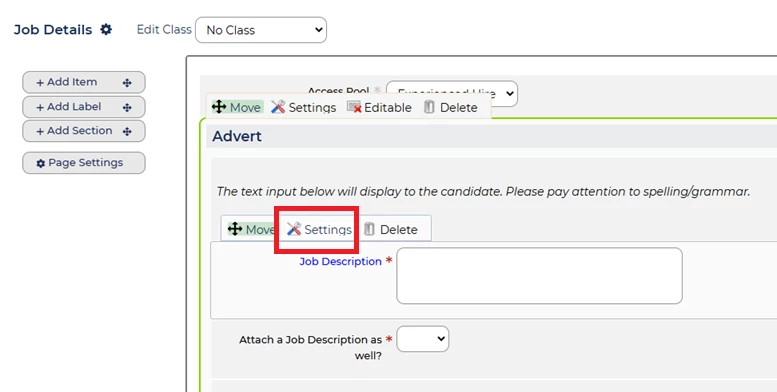
- Go to the Job Description item and select Settings
- Select the Item link
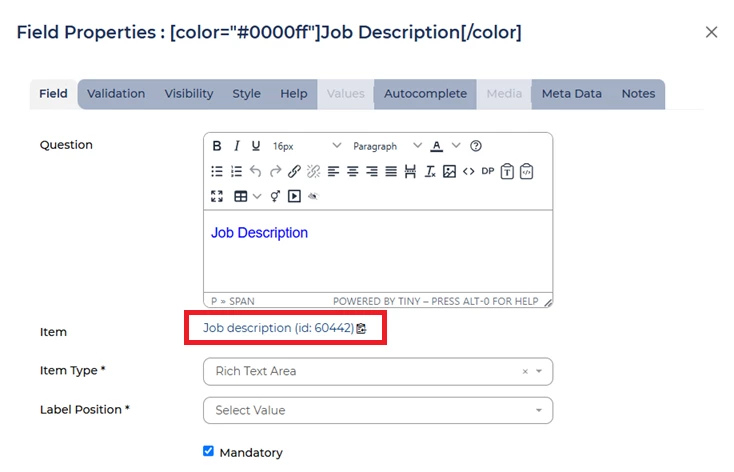
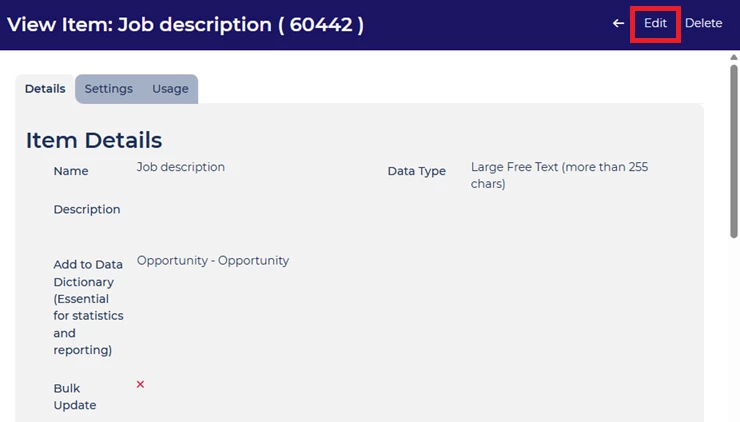
- A new tab will open. Select Edit
- Add the Description Short Code into the Short code field then press Save
- Now repeat this process for the Skill and Skill Level items which should look like this:
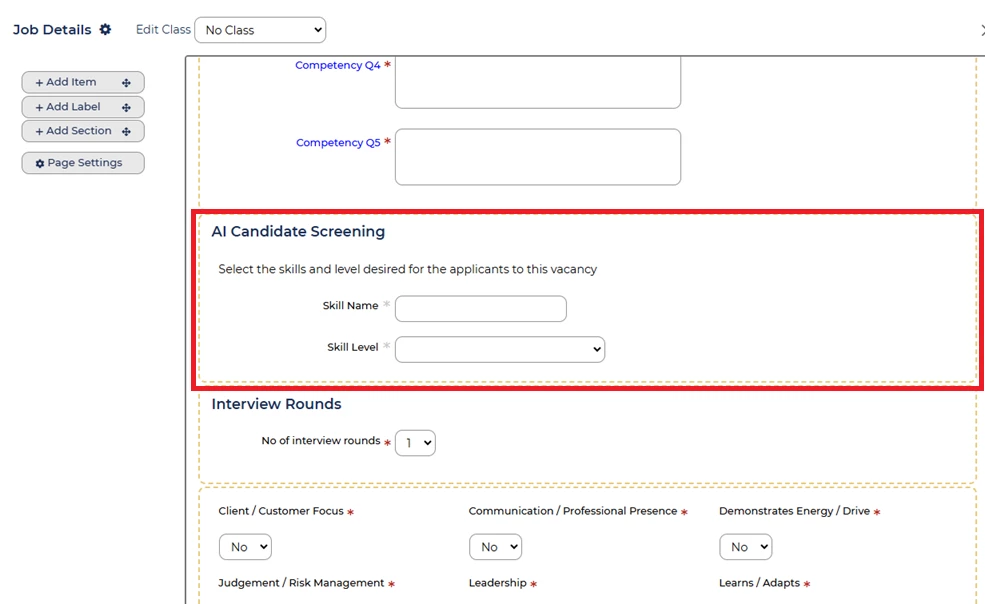
- Ensuring the Multi-instance tab settings are set to the customers preference for the largest number of instances possible (we advise no more than 10 but you can go higher if the customer wishes)
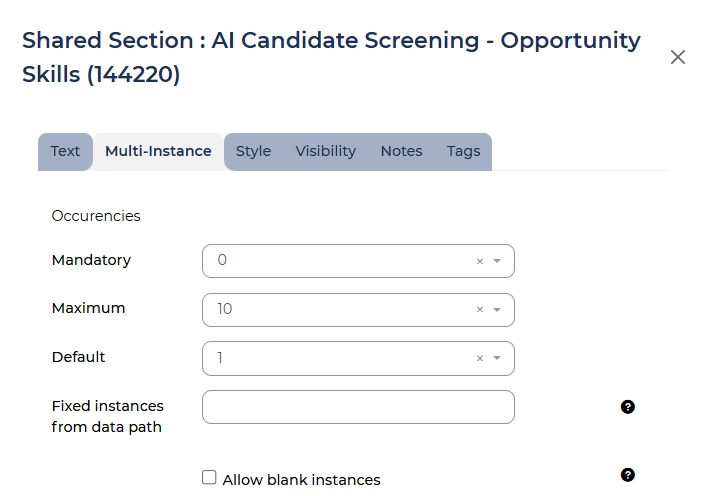
- Should look a bit like this
- If your default vacancy template does not have all these items you either need to select a new default that does have them or add these items to the default. Instructions for this can be found here:
and here:
- Go to the Job Description item and select Settings

