


WHAT IS THE TIP?
💡 Take your email branding to the next level by using the Advanced Edit email templates and Source Code functionality to create high-impact, automated emails. Following on from our previous tip on basic email branding, this "build-along" guide shows you how to use BBCode and structured HTML in both our Advanced Edit and Simple email templates to ensure your system-triggered emails look professional and remain consistent across every candidate touchpoint.
🔧 Use case: You are an organisation who cares about your brand impact. You want to maximise candidate engagement and experience at every touchpoint from within your process flow.
‘Advanced Edit’ Templates
💡Our advanced edit templates can produce engaging and attractively branded emails from within your process flow, however it does require some knowledge of BBCode (an alternative to HTML). Converting from BBCode to HTML can sometimes cause unexpected results. Use the build instructions below to create a professional, on-brand email that remains locked from manual edits.
🛠️ Build Along! Click below to reveal the code that you can use in your own system to replicate the email on the right hand side.
Before you start, make sure you have added all your images to the file library:
- Browse File Library and add the items you would like to use within the body of the email
- Press Save to reveal the “BBtag” this will provide you with your attachment ID e.g. privateconfig__357 in the code below replace “BBTAG_ID” with your BBtag ID.
You will also need to find/create any placeholders that you would like to include in your emails:
- Refresh your memory on how to do that here.
Navigate to your email templates:
- Configuration > Correspondence > Email Templates > Select the template you want to edit.
- Open your email template and change it to an ‘Advanced’ email template.
IMPORTANT: YOU CANNOT REVERT THIS BACK TO A SIMPLE TEMPLATE SO PLEASE BE SURE BEFORE YOU ACTION THIS. YOU MAY WANT TO COPY IT FIRST!
- Copy and paste the below code in the HTML content box and update the relevant text, attachment numbers and placeholders as required. (check out the bottom of the article for configuration guide links).
Make sure you choose the right option for the type of email that you are creating, the code will differ for Non-Editable and Editable upon send emails.
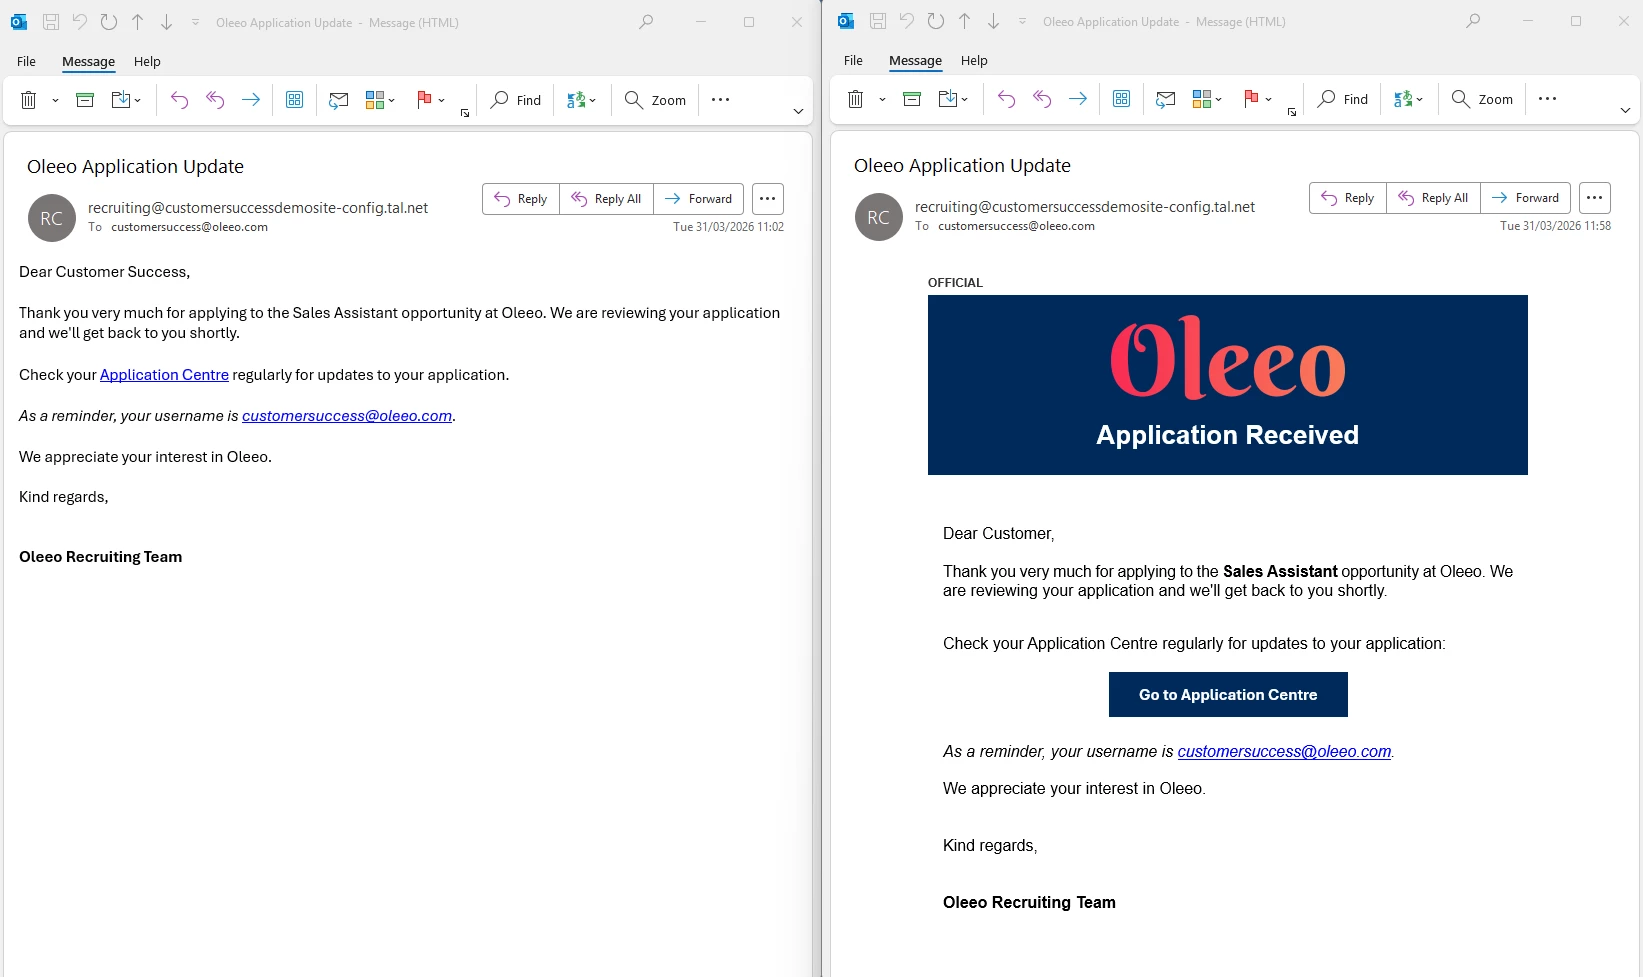
Advanced Edit Code - Not Editable Upon Send Emails
Non-editable email templates are used as part of the process but are designed to not have any user input; these emails are automated.
[table width="600" border="0" cellspacing="0" cellpadding="0" align="center" style="font-family: Arial, sans-serif; margin: 0 auto;"]
    [tr]
        [td style="padding-bottom: 5px; font-size: 12px; font-weight: bold; color: #333333; text-transform: uppercase;"]
            OFFICIAL
        [/td]
    [/tr]
    [tr]
        [td]
            [table width="100%" cellspacing="0" cellpadding="0" style="background-color: #002a5c;"]
                [tr]
                    [td align="center" style="padding: 20px 15px; width: 600px"]
                        [attachment="BBTAG_ID" style="height: 85px;"][/attachment]
                    [/td]
                [/tr]
                [tr]
                    [td align="center" style="color: #ffffff; font-size: 26px; font-family: sans-serif; padding-bottom: 25px; padding-left: 15px; padding-right: 15px;"]
                        [b]Application Received[/b]
                    [/td]
                [/tr]
            [/table]
        [/td]
    [/tr]
    [tr]
        [td style="padding: 30px 15px 15px 15px; font-size: 16px; line-height: 1.5; color: #000000;"]
            Dear [path]application.user.firstname[/path],

            Thank you very much for applying to the [b][path]application.opportunity.title_labels.label_text[/path][/b] opportunity at [placeholder="ORG_NAME"][/placeholder]. We are reviewing your application and we'll get back to you shortly.
        [/td]
    [/tr]
    [tr]
        [td style="padding: 0 15px 20px 15px; font-size: 16px; line-height: 1.5; color: #000000;"]
            Check your Application Centre regularly for updates to your application:
        [/td]
    [/tr]
    [tr]
        [td align="center" style="padding-bottom: 25px;"]
            [table border="0" cellspacing="0" cellpadding="0"]
                [tr]
                    [td bgcolor="#002a5c" style="padding: 12px 30px; border-radius: 4px;"]
                        [urlpath="application.candidate_application_link" style="color: #ffffff; font-size: 16px; font-weight: bold; text-decoration: none;"]Go to Application Centre[/urlpath]
                    [/td]
                [/tr]
            [/table]
        [/td]
    [/tr]
    [tr]
        [td style="padding: 0 15px 30px 15px; font-size: 16px; line-height: 1.5; color: #000000;"]
            [i]As a reminder, your username is [b][path]application.user.username[/path][/b].[/i]

            We appreciate your interest in [placeholder="ORG_NAME"][/placeholder].
            [br][/br][br][/br]
            [placeholder="EMAIL_SIGNATURE"][/placeholder]
        [/td]
    [/tr]
[/table]
Advanced Edit Code - Editable Upon Send Emails
Editable email templates are used as part of the process and allow the user to update the content of the email before they send it to the candidate.
[table width="600" border="0" cellspacing="0" cellpadding="0" align="center" style="font-family: Arial, sans-serif; margin: 0 auto;"]
    [tr]
        [td style="padding-bottom: 5px; font-size: 12px; font-weight: bold; color: #333333; text-transform: uppercase;"]
            OFFICIAL
        [/td]
    [/tr]
    [tr]
        [td]
            [table width="100%" cellspacing="0" cellpadding="0" style="background-color: #002a5c;"]
                [tr]
                    [td align="center" style="padding: 20px 15px; width: 600px"]
                        [attachment="BBTAG_ID" style="height: 85px;"][/attachment]
                    [/td]
                [/tr]
                [tr]
                    [td align="center" style="color: #ffffff; font-size: 26px; font-family: sans-serif; padding-bottom: 25px; padding-left: 15px; padding-right: 15px;"]
                        [b]Application Received[/b]
                    [/td]
                [/tr]
            [/table]
        [/td]
    [/tr]
    [tr]
        [td style="padding: 30px 15px 15px 15px; font-size: 16px; line-height: 1.5; color: #000000;"]
            [editable=email-body-1]Dear [path]application.user.firstname[/path],

            Thank you very much for applying to the [b][path]application.opportunity.title_labels.label_text[/path][/b] opportunity at [placeholder="ORG_NAME"][/placeholder]. We are reviewing your application and we'll get back to you shortly.[/editable]
        [/td]
    [/tr]
    [tr]
        [td style="padding: 0 15px 20px 15px; font-size: 16px; line-height: 1.5; color: #000000;"]
            Check your Application Centre regularly for updates to your application:
        [/td]
    [/tr]
    [tr]
        [td align="center" style="padding-bottom: 25px;"]
            [table border="0" cellspacing="0" cellpadding="0"]
                [tr]
                    [td bgcolor="#002a5c" style="padding: 12px 30px; border-radius: 4px;"]
                        [urlpath="application.candidate_application_link" style="color: #ffffff; font-size: 16px; font-weight: bold; text-decoration: none;"]Go to Application Centre[/urlpath]
                    [/td]
                [/tr]
            [/table]
        [/td]
    [/tr]
    [tr]
        [td style="padding: 0 15px 30px 15px; font-size: 16px; line-height: 1.5; color: #000000;"]
            [i]As a reminder, your username is [b][path]application.user.username[/path][/b].[/i]

            We appreciate your interest in [placeholder="ORG_NAME"][/placeholder].
            [br][/br][br][/br]
            [placeholder="EMAIL_SIGNATURE"][/placeholder]
        [/td]
    [/tr]
[/table]
📌 Pro Tip: Pass the code to your in-house marketing team for them to input the required colours.
‘Simple’ Email Templates
💡 If you are not as confident using BBCode and HTML and would still like to achieve nicely branded emails, you can achieve a similar effect using our Simple email templates. Use the ‘<>’ Source Code functionality in the WYSIWYG (What You See Is What You Get) editor to still achieve nicely branded emails. This will still require some knowledge of BBCode and HTML, but is less complicated than the ‘Advanced Edit’ emails.
The code for Simple emails cannot dictate ‘editable on send’ sections, and so our recommendation would be to use the Advanced Edit email templates for any emails that you wish to edit upon sending to remove the risk of users changing the branded content
🛠️ Build Along! Click below to reveal the code that you can use in your own system to replicate the email on the right hand side.
Before you start, make sure you have added all your images to the file library:
- Browse File Library and add the items you would like to use within the body of the email
- Press Save to reveal the “BBtag” this will provide you with your attachment ID e.g. privateconfig__357 in the code below replace “BBTAG_ID” with your BBtag ID.
You will also need to find/create any placeholders that you would like to include in your emails:
- Refresh your memory on how to do that here.
Navigate to your email templates:
- Configuration > Correspondence > Email Templates > Select the template you want to edit
- Open your email template and click on the ‘<>’ icon in the WYSIWYG editor toolbar.
- Copy and paste the below code in the Source Code window that opens and update the relevant text, attachment numbers and placeholders as required. (check out the bottom of the article for configuration guide links)
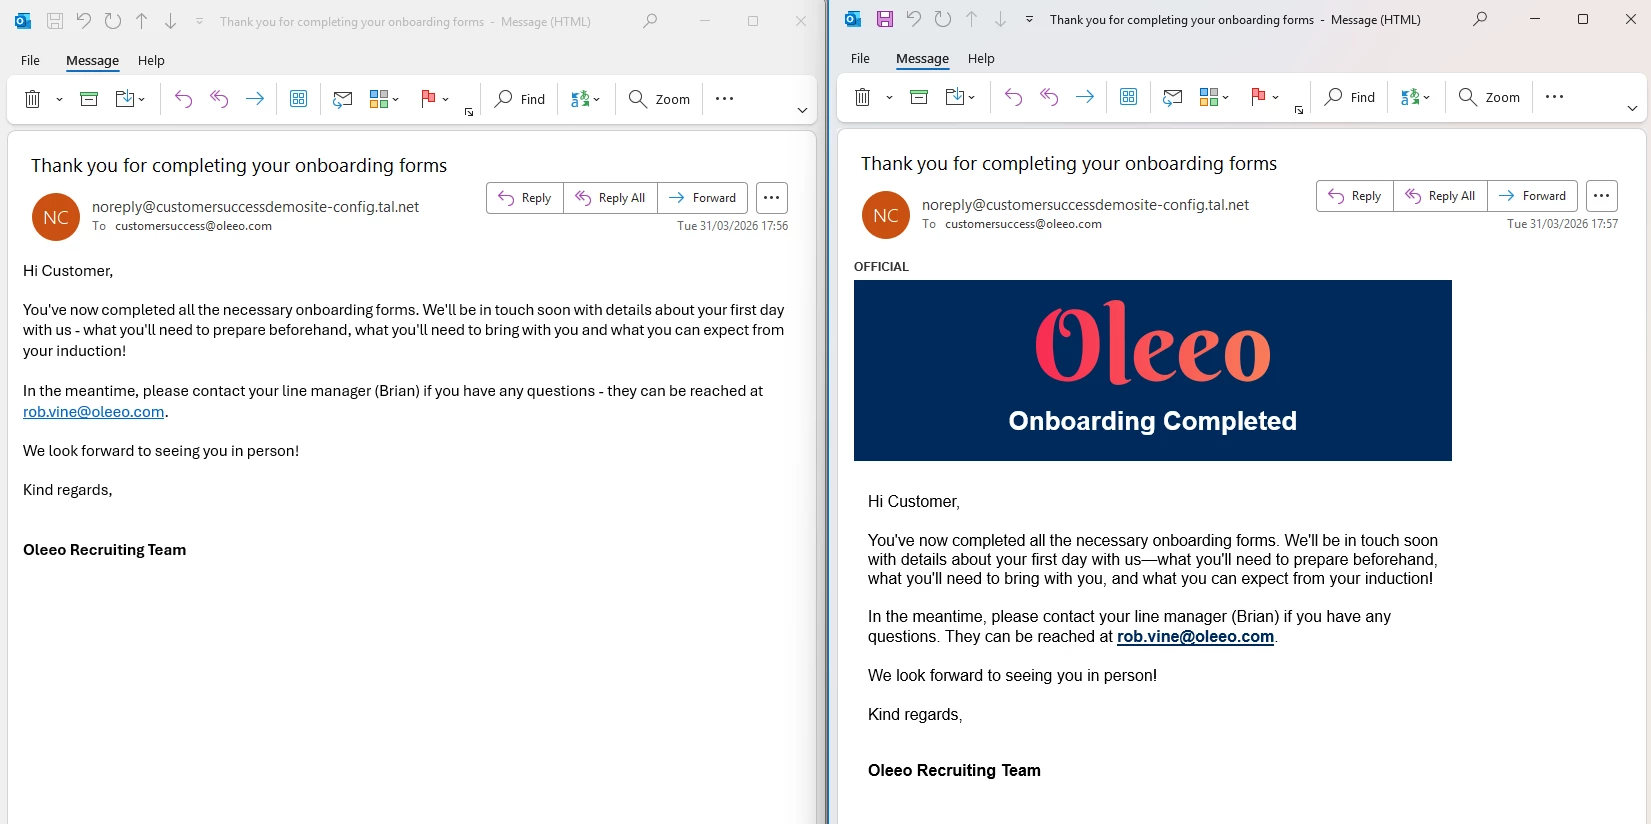
Simple Email Source Code - Not Editable Upon Send Emails
Non-editable email templates are used as part of the process but are designed to not have any user input; these emails are automated.
<table style="width: 600px; max-width: 600px; font-family: Arial, sans-serif; margin: 0 auto; background-color: #ffffff; border-collapse: collapse;">
<tbody>
<tr>
<td style="padding-bottom: 5px; font-size: 12px; font-weight: bold; color: #333333; text-transform: uppercase;">OFFICIAL</td>
</tr>
<tr>
<td>
<table style="width: 100%; background-color: #002a5c; border-collapse: collapse;">
<tbody>
<tr>
<td style="padding: 20px 15px; text-align: center;">[attachment="BBTAG_ID"][/attachment]</td>
</tr>
<tr>
<td style="color: #ffffff; font-size: 26px; font-family: sans-serif; padding-bottom: 25px; padding-left: 15px; padding-right: 15px; text-align: center;"><strong>Onboarding Completed</strong></td>
</tr>
</tbody>
</table>
</td>
</tr>
<tr>
<td style="padding: 30px 15px 30px 15px; font-size: 16px; line-height: 1.5; color: #000000;">
<p style="margin-top: 0; margin-bottom: 20px;">Hi <span class="mceDataPath">application.user.firstname</span>,</p>
<p style="margin-top: 0; margin-bottom: 20px;">You've now completed all the necessary onboarding forms. We'll be in touch soon with details about your first day with us—what you'll need to prepare beforehand, what you'll need to bring with you, and what you can expect from your induction!</p>
<p style="margin-top: 0; margin-bottom: 20px;">In the meantime, please contact your line manager (<span class="mceDataPath">application.opportunity.formdata.80124:1:1.value.firstname</span>) if you have any questions. They can be reached at <a style="color: #002a5c; font-weight: bold; text-decoration: underline;" href="mailto:application.opportunity.formdata.80124:1:1.value.email"><span class="mceDataPath">application.opportunity.formdata.80124:1:1.value.email</span></a>.</p>
<p style="margin-top: 0; margin-bottom: 20px;">We look forward to seeing you in person!</p>
<p style="margin-top: 0; margin-bottom: 0;">[placeholder=EMAIL_SIGNATURE][/placeholder]</p>
</td>
</tr>
</tbody>
</table>
📌 Pro Tip: Pass the code to your in-house marketing team for them to input the required colours.
Test Your Templates
💡 Always preview your emails and send a test email to different mail clients (Outlook, Gmail, and Mobile) before setting the template live to make sure that it appears as you wished it to!
😊 Have you tried building a custom template using these methods? We’d love to see your results! Share your screenshots or tips with the community below, or let us know if you've found a specific BBCode trick that works wonders for your team.
BENEFITS
-
Brand Consistency: Ensures all automated system emails match your corporate identity.
-
Reduced Error: Non-editable templates prevent users from accidentally deleting important links or placeholders.
-
Professionalism: High-quality layouts with buttons and headers improve the candidate experience.
CONSIDERATIONS
-
Requires a basic understanding of BBCode or HTML to make structural changes.
-
You will need the File Library to be enabled, if you do not have this enabled please request this via a change request case with our delivery team.
-
Always ensure your File Library images are "Public" so they render correctly in the recipient's inbox.
-
Requires level 1 self configuration training.
COSTS
This feature is part of the standard product offering.
NEXT STEPS
If you would like guidance, please raise a support request. Alternatively, if you would like our help in updating your email templates, please raise a change request case to our delivery team.
ADDITIONAL INFORMATION:


