Your user profile includes a default dashboard. Depending on your access level, you can personalise this dashboard to suit your needs.
Customising your dashboard allows you to tailor the information and widgets that matter most to you, making it a more efficient and user-friendly tool for your needs.
SWITCHING TO DASHBOARD CUSTOMISATION MODE
- To begin, click on Customise Dashboard located under 'Dashboard' in the left-hand menu.
- Your Dashboard will switch to edit mode and you will now be able to add/remove tabs, customise the widgets and add new widgets.
- Any adjustments you make to your dashboard are saved automatically.
- If you ever wish to undo your customisations and revert your dashboard to its default settings, simply click 'Reset to Default' from the left-hand menu.
ADDING, RENAMING, DUPLICATING AND DELETING TABS
- To access the tab management options, click the dropdown arrow next to the tab's title.
- Each tabs dropdown menu contains the options to 'Rename Tab', 'Duplicate Tab', 'Delete Tab' and 'Add Widget'.
- Re-order tabs by dragging and dropping them.
- Add a new tab by clicking the plus icon after the last tab.

REARRANGING AND ADJUSTING THE WIDGETS
Within each tab, you can customise widgets:
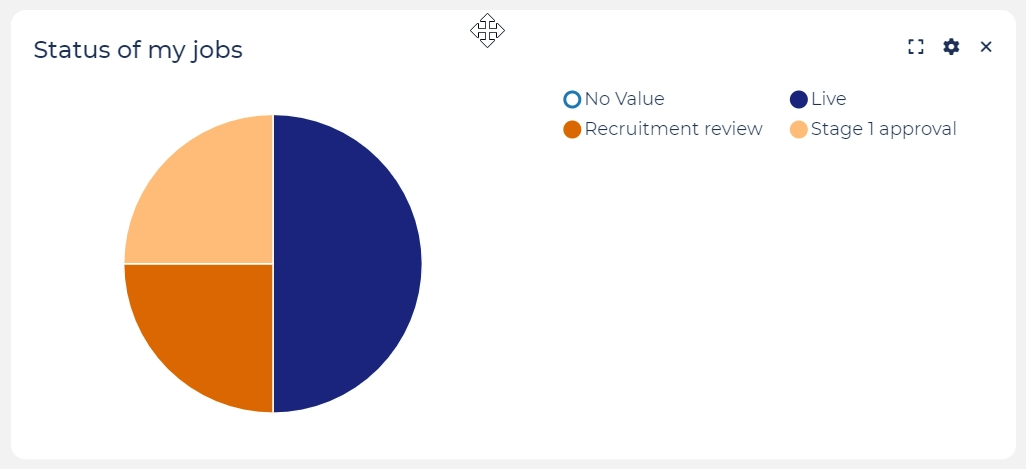
- Re-arrange widgets by hovering your cursor over the top of a widget until a crosshair appears and then dragging and dropping it to your preferred position.
- Adjust a widget's settings by clicking the cog icon that appears in the top-right corner when hovering your cursor over a widget.
- Remove a widget by clicking on its cross icon which is also in the top-right corner.
- Resize a widget by dragging its edges.
ADDING A NEW WIDGET
- Click on the tab where the widget will be placed.
- Open the tab's dropdown menu and select 'Add Widget'.
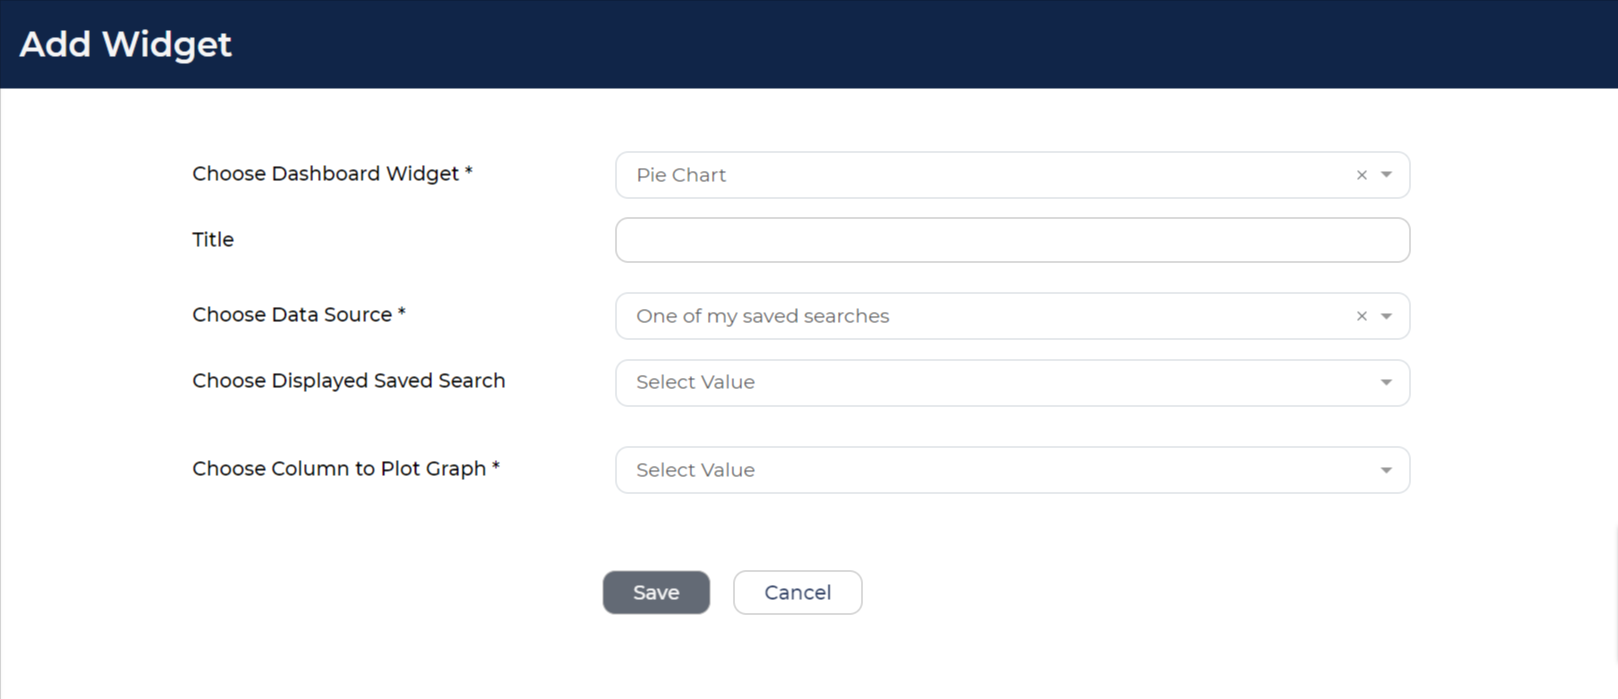
- Select the type of widget you want to add:
- There are 23 different widget types available, including various graphs, interview calendars, and quick links to common tasks.
- Detailed descriptions of each widget type can be found in the Recruiter Guide.
- Before adding a graph/chart, ensure you have a saved search created as the data source. You can use any of the Saved Searches you have access to or create a new Saved Search.
- Once you have entered the widget's details, click 'Save'.
- The widget will be added to the bottom of the tab.